Monday, May 30, 2011

Water Marble Nail Art, Take #2!

This is the second time painting my nails using the water marble technique. I loved the way these three set of colors turned out on my nails which is why I decided to dedicate another short post to water marbling.

The three colors used were F21's "Pale Banana", Bettina's #74, and a hint of Sephora by OPI's "I'm Wired".

^ My favorite design. ^


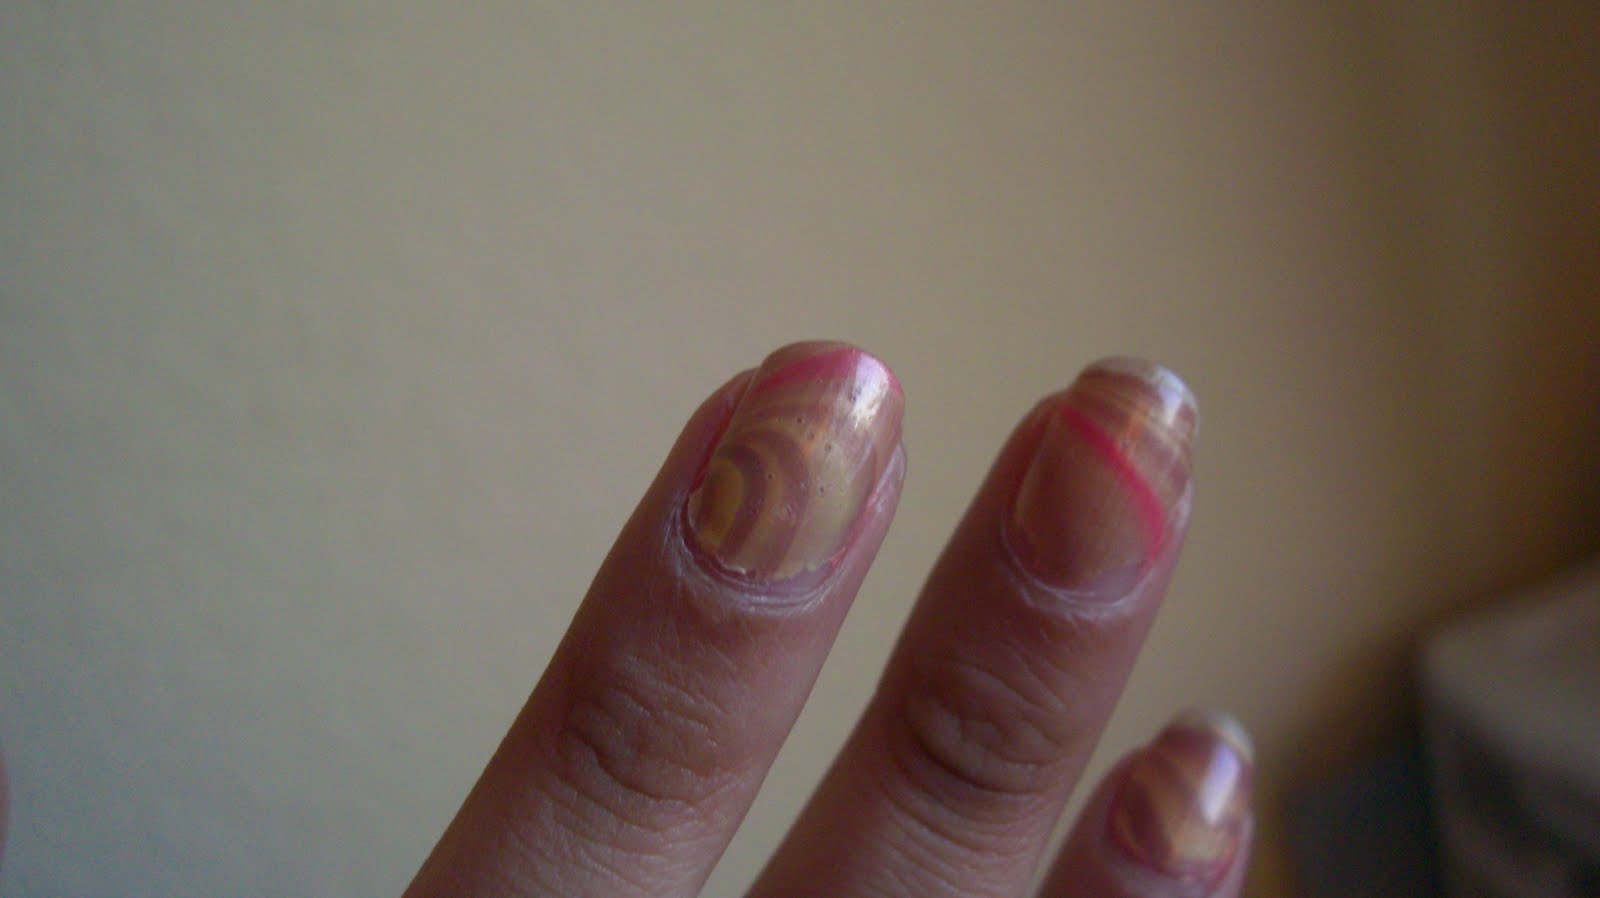
What I've Learned: I learned that some nail polishes are not so great for water marbling. The bright pink "I'm Wired" color was originally supposed to be used in combination with just the "Pale Banana" color. While the design looked fine from the view of the water's top surface, underneath the color had spilled over. So when I would dip my finger (correctly of course) into the water the design was all muddied and ruined each and every time. What did I do to fix this? I brought in a third neutral color that would mainly be paired with the yellow and only used ONE drop of the pink to add a pop a color. And there you have it.

Saturday, May 7, 2011

Song of the Day (#1)


John Williams - Anakin's Theme

ALBUM: Star Wars Episode I: The Phantom Menace

You do not have to be a Star Wars fan to appreciate this piece of music. All you need to know is Anakin Skywalker grows up to become Darth Vader, one of the most iconic bad guys in all of cinema. John Williams has the tune start off innocent, reflecting the young Anakin. It is near the end that the tune hints toward a darker side as it plays notes from "The Imperial March" which is Darth Vader's theme.

ON A SIDE NOTE: I just recently found this out but for all the fanboys out there the ending credits of The Phantom Menace film replays Anakin's Theme. However, if you listen closely to the last 30 seconds or so you will hear that the faint sound of Darth Vader's breathing is added. This, of course, foreshadows what's to come.

Wednesday, May 4, 2011

Water Marble Nail Art

Photos of my experience and final product. Video tutorial attached (video not mine).

Check out my further experiences with Water Marble Nail Art.
What You Will Need:
  • 2-3 (or more) nail polishes
  • bowl or cup (something you'll allow to get dirty)
  • filtered water
  • a large pointy pick (something you'll allow to get dirty)
  • paper towel (something sturdy to wipe excess nail polish from pick)
  • tape (optional; used to cover the skin around your fingernail)


Colors Used (from left to right):
OPI's OPI Ink, OPI's Cozu-Melted In The Sun, Bettina #74


Start of by putting one drop of either nail polish you choose on the water's surface. Then quickly place another drop of the next nail polish color within the first one. Continue this process with the rest of your nail polish colors until you get a colorful "masterpiece" like the one I created below.

Now, just use your pick to make any simple design. For instance, I used my pick to drag the inner most circle of nail polish outwards toward the outer most ring of nail polish. This will create a curved, "candy cane"-like design on my nails. Finally, swiftly but smoothly, dunk your nail (facing horizontally) onto design and remove the excess nail polish with pick before removing nail from water.


The colorful mess I made

The Final Product (on each hand)


There are plenty of tutorials on youtube, each with different designs ranging from easy to more complex.
Type in the search bar, "water marble nail art" or "water marbling".
Check out one of the tutorials I based my water marbling experience on below.

Credit for video goes to "SimpleLittlePleasures" on Youtube.

What I've Learned: While I am in love with Water Marbling, it does use up a lot of nail polish. This is especially true if you use a larger bowl like I did. So what I did is, like in the video above, used a tiny sized dixie cup.

Check out my further experiences with Water Marbling.